Create a comparison filter on a numeric level

For example, if you have a 'Credit Score' level in a customer dimension, you can create a filter such as "Credit Score > 600" to include only customers whose credit score is greater than 600. After you have applied your filter, the Analyzer report displays only data specified by the comparison ranges that you selected.
Perform the following steps to add a comparison filter to an Analyzer report:
Procedure
Log in to the User Console. Click Browse Files to browse to the location of your Analyzer report and open the report.
Click the Add a Filter icon, then drag a field from the Available Fields panel (or click and drag a field or column from the report) that you want to use as a filter into the Filters workspace.
The Filter dialog box appears. Notice that the values associated with the field are listed in the dialog box.Select the Greater / Less Than, Between, etc. option.
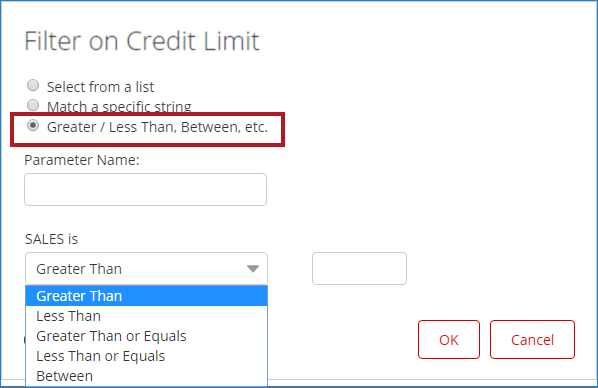
Click Greater Than, then select the comparison operator that you want to use from the drop-down menu. Select Greater Than, Less Than, Greater Than or Equals, Less Than or Equals, or Between.
Enter the value or value range that you want to use as a filter. Click OK to apply the filter to your report.
After generating, your report displays with the fields matching those values.Save your report.
You can click Undo or Reset to return to the previous version of the report.